
How to Send Multiple ID Photos as One PDF
Learn how to send multiple ID photos as one PDF, organize front and back images clearly, avoid messy uploads, and prepare a cleaner file for sharing online.
ID & PASSPORT PHOTOS
6/27/20265 min read
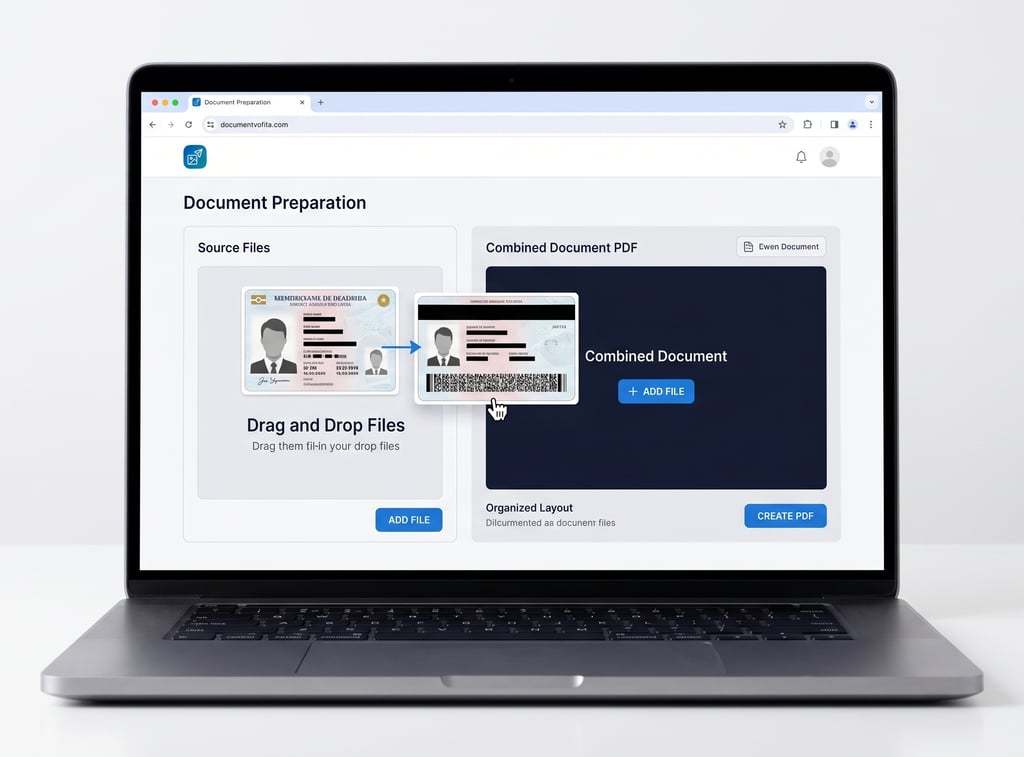
You need to send photos of an ID-style document, but you have more than one image. Maybe one photo shows the front side, another shows the back side, and a third shows an extra document page. Uploading each image separately can feel messy, especially when a form, school portal, job application, or support page asks for one file.
The simple solution is to send multiple ID photos as one PDF. A single PDF keeps the images together, preserves the order, and makes the file easier to open, review, and store. Instead of sending several scattered image files, you create one organized document.
This guide explains when to combine ID-style photos, how to prepare them safely, and how to use ImageToSend’s Images to PDF tool to create a cleaner file before uploading or sharing.
Why Multiple ID Photos Can Be Hard to Submit?
Many people take ID-style document photos with a phone. That is convenient, but it often creates separate image files. For example, you may end up with:
One photo of the front side
One photo of the back side
One photo of a supporting document
One retake because the first image was blurry
One cropped version and one original version
This can become confusing quickly. If you upload the wrong image, send the back side first, or forget one file, the person reviewing it may not understand the submission.
A PDF helps because it turns separate photos into one ordered file. Page 1 can show the front side. Page 2 can show the back side. Extra pages can follow after that.
Send Multiple ID Photos as One PDF for Better Organization
When you send multiple ID photos as one PDF, the goal is not to alter the document or change its information. The goal is only to organize clear photos into one file.
This can be useful when you need to submit:
Front and back ID-style photos
Student ID document photos
Work badge photos
Membership card images
Identification page copies
Supporting document photos
Application document images
Always follow the instructions from the organization, school, employer, portal, or application page. If they ask for separate files, submit separate files. If they ask for one PDF, combining the photos can make the upload cleaner.
Step 1: Take Clear Photos First
A PDF is only as good as the images inside it. Before combining anything, make sure each photo is readable.
Place the document on a flat surface with good lighting. Avoid shadows, glare, and blurry camera movement. Hold the phone directly above the document so the image does not look tilted or stretched.
Check that:
All corners are visible.
Text is readable.
The photo is not blurry.
The image is not too dark.
There is no strong reflection.
The full front or back side is included.
The photo is facing the correct direction.
If any image is unclear, retake it before making the PDF.
Step 2: Review the Order of the Photos
Order matters. A reviewer should not have to guess which side comes first.
A simple order is:
Front side
Back side
Extra supporting page, if needed
If you are sending more than one document, group each set logically. For example, keep both sides of the same document together before adding another item.
Do not include duplicate images unless the instructions ask for them. A clean PDF should only include the pages that are needed.
Step 3: Remove Bad or Duplicate Images
Before creating the PDF, delete or skip any image that is not useful.
Avoid including:
Blurry retakes
Cropped mistakes
Duplicate photos
Images with missing corners
Photos with heavy glare
Screenshots of the same document
Accidental background photos
This makes the final PDF shorter, cleaner, and easier to review.
Step 4: Fix Orientation if Needed
Phone photos sometimes appear upright on your device but upload sideways elsewhere. Before combining the images into a PDF, check whether each photo is facing the correct direction.
If a photo is sideways or upside down, rotate it first. This simple step helps the final PDF look more professional and easier to read.
Step 5: Combine the Images Into One PDF
Once the photos are clear and organized, use ImageToSend’s Images to PDF tool. Upload the images, arrange them in the correct order, and create one PDF.
This tool is the best fit for this task because it is made for combining multiple images into one PDF. It can help with document bundles, scanned pages, application packets, and front-and-back document photo submissions.
Keep the PDF simple. Do not add extra pages, decorative elements, or unnecessary edits. The purpose is clear file preparation.
Step 6: Name the PDF Clearly
A clear file name helps avoid confusion.
Good examples include:
id-front-back.pdf
student-id-photos.pdf
application-id-document.pdf
front-and-back-id-copy.pdf
document-photos-combined.pdf
Avoid confusing names like:
IMG_7782.pdf
new-final-final.pdf
myfile123.pdf
scan-copy-copy.pdf
A simple name makes the file easier to identify after uploading or emailing.
Step 7: Open the PDF Before Sending
Before submitting or sharing the file, open it and review every page.
Check:
The PDF opens correctly.
The pages are in the right order.
The images are readable.
No page is missing.
No duplicate page was added by mistake.
The file name is clear.
The file follows the upload instructions.
This final check can prevent many small mistakes.
Practical Example
Imagine you need to send the front and back of an ID-style card for an online account verification process. You take two photos with your phone. The front image is clear, but the back image is sideways.
A better workflow would be:
Retake any blurry photo.
Rotate the back image so it is upright.
Put the front image first.
Put the back image second.
Combine both images into one PDF.
Name the file clearly.
Open the PDF and check both pages.
Upload the final file if the portal accepts PDF.
This keeps the submission organized and easier to review.
Common Mistakes to Avoid
Sending Images in the Wrong Order
Front and back images should usually appear in a logical sequence. Put the main side first unless the instructions say otherwise.
Including Blurry Photos
A blurry image inside a PDF is still blurry. Retake unclear photos before combining them.
Cropping Too Much
Do not cut off edges, numbers, names, dates, barcodes, signatures, or other required details. Keep the full document visible.
Uploading Separate Files When One PDF Is Requested
If the form asks for one file, several separate images may not work. A PDF can help keep everything together.
Ignoring File Requirements
Some portals accept only JPG, PNG, or PDF. Always follow the exact instructions shown on the upload page.
Overediting the Image
Avoid edits that change document information or make the image look unnatural. Basic rotation, cropping, and organization are usually enough.
Final Checklist Before Uploading or Sharing
Before you send multiple ID photos as one PDF, review this checklist:
Each photo is clear and readable.
The full document is visible.
Front and back images are included if required.
Pages are in the correct order.
Sideways images are fixed.
Duplicate or blurry photos are removed.
The PDF opens correctly.
The file name is simple.
The file follows the receiving portal’s instructions.
No unnecessary edits were made.
Conclusion
When you have several ID-style photos, sending them one by one can create confusion. A single PDF keeps the images together, helps preserve the order, and makes the file easier to upload or share.
To send multiple ID photos as one PDF, start with clear photos, arrange them logically, remove bad images, fix orientation, and combine them into one organized file. ImageToSend’s Images to PDF tool can help you prepare a cleaner document-style PDF for everyday submissions, without changing the content of the original photos.
FAQ
Can I send front and back ID photos in one PDF?
Yes, if the receiving portal or person accepts PDF files. Put the front side first and the back side second unless the instructions say otherwise.
Should I edit ID photos before making the PDF?
Only make basic preparation edits such as rotating, cropping visible borders, or fixing orientation. Do not change document details.
What if the upload page asks for separate files?
Follow the upload instructions. If the page asks for separate files, do not combine them unless PDF submission is allowed.
Which ImageToSend tool should I use?
Use Images to PDF when you need to combine multiple ID-style photos into one organized PDF.
ImageToSend
Practical tools and guides to compress PDFs, resize images, and prepare ID and passport photos for online uploads.
Contact
© 2026 ImageToSend. All rights reserved.
Quick Links