
Resize Product Photos for Online Marketplace Uploads
Learn how to resize product photos for online marketplace uploads, keep items clear, avoid bad crops, and prepare cleaner images before selling online today
RESIZE IMAGES
7/5/20266 min read
How to Resize Product Photos for Online Marketplace Uploads
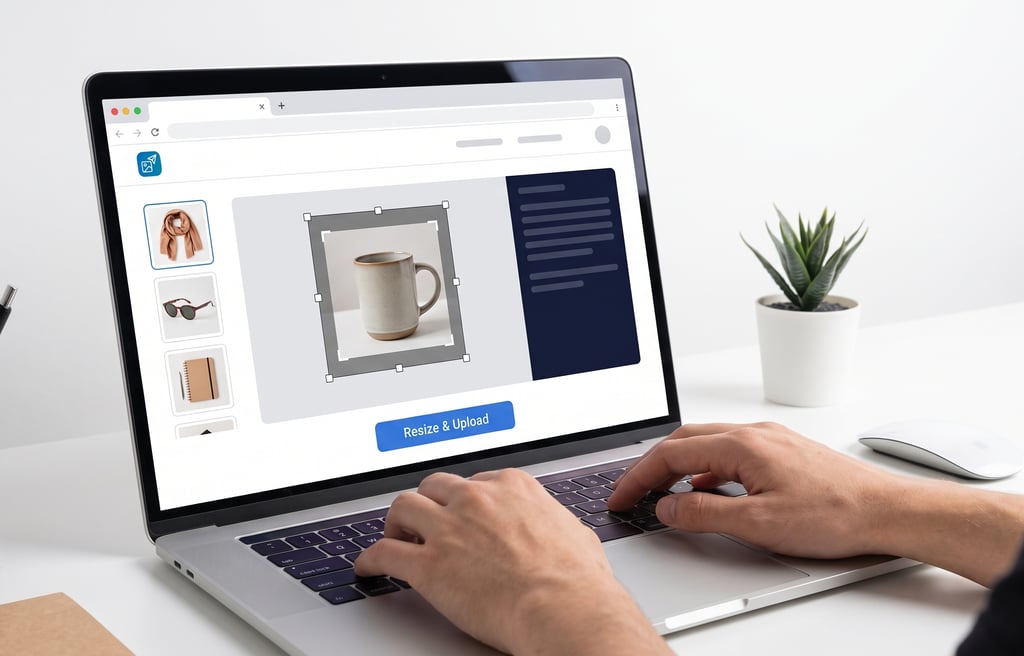
You take a photo of a product you want to sell online, but the upload page rejects it, crops it badly, or shows the item too small in the preview. The product may look clear on your phone, but once you upload it, the marketplace thumbnail cuts off the edges, adds awkward spacing, or makes the file too large to submit quickly.
This happens often because phone cameras create large images, while online marketplaces usually display product photos inside fixed upload boxes, grids, thumbnails, and preview cards. To avoid these problems, it helps to resize product photos for online marketplace uploads before publishing your listing.
The goal is not to make the product look different. The goal is to prepare a clean image that shows the item clearly, fits the upload area better, and stays easy for buyers to review.
Why Product Photos Need Resizing Before Upload?
Product photos are different from casual photos. A buyer usually wants to see the item clearly before deciding whether to click, message, or buy. If the image is too large, too wide, too tall, or badly cropped, the listing may look less trustworthy.
Common problems include:
The product appears too small in the thumbnail.
The upload preview cuts off part of the item.
The file takes too long to upload.
The marketplace rejects the image because it is too large.
The image becomes blurry after automatic resizing.
The product is not centered.
Too much background takes attention away from the item.
The photo is vertical when the listing preview works better as a square.
Many platforms automatically crop or compress images after upload. If you prepare the photo first, you have more control over what buyers see.
Resize Product Photos for Online Marketplace Uploads the Right Way
When you resize a product photo, you should protect three things: clarity, framing, and shape.
A good marketplace product image should show the item clearly without unnecessary distractions. The buyer should understand what is being sold within a few seconds.
Before resizing, check:
Is the product fully visible?
Is the image clear and not blurry?
Is the product centered?
Is there enough space around the item?
Is the background simple?
Is the photo upright?
Are important details visible?
Does the marketplace recommend a square image?
If the photo already has problems, resizing alone may not fix them. Start with the best image you have.
Step 1: Choose the Best Product Photo
Pick a photo where the product is easy to see. Use good lighting and avoid strong shadows. If possible, place the product on a clean surface or in front of a simple background.
A good product photo usually has:
Clear lighting
Sharp focus
Full item visible
Minimal background clutter
Natural colors
No heavy filters
No distracting objects near the product
For example, if you are selling shoes, show both shoes clearly. If you are selling a phone, make sure the screen, edges, and condition are visible. If you are selling clothing, avoid photos where the item is wrinkled, folded badly, or partly hidden.
Step 2: Check the Marketplace Upload Rules
Some marketplaces give recommended image sizes or file limits. Others do not show details until an upload fails.
Look for instructions such as:
Minimum image size
Maximum file size
Accepted formats
Square photo recommended
Main image requirements
Image quality rules
Number of photos allowed
If the platform gives exact dimensions, follow them. If not, preparing a clean square or balanced image is often a practical starting point for product listings because many marketplace grids use square thumbnails.
Step 3: Crop Before You Resize
Cropping and resizing are not the same. Cropping changes what part of the photo is visible. Resizing changes the image dimensions.
If the product has too much empty space around it, crop the image first. But do not crop too tightly. Leave a little breathing room so the product does not touch the edges of the upload preview.
A good crop should:
Keep the full product visible
Center the item
Remove unnecessary background
Leave space around the edges
Avoid cutting off important details
Work well as a thumbnail
For marketplace listings, the first image matters a lot. It is often the image buyers see first in search results or category pages.
Step 4: Keep the Aspect Ratio Correct
Aspect ratio is the relationship between width and height. If you resize a photo without keeping the correct ratio, the product can look stretched or squeezed.
This is especially bad for product photos. A stretched image can make clothing, electronics, furniture, or accessories look different from reality.
Avoid forcing a vertical image into a square by stretching it. Instead, crop the image into the right shape, then resize it. This keeps the product looking natural.
Step 5: Resize the Product Photo
Once the crop looks good, resize the image to a practical size for upload.
If the marketplace gives a required size, use that. If it does not, choose dimensions that keep the product clear without leaving the file unnecessarily huge.
ImageToSend’s Smart Image Resizer is the best tool for this task because it helps adjust image dimensions, pixel size, aspect ratio, and file weight before uploading.
Use it when:
The product photo is too large.
The image dimensions do not fit the upload box.
The preview crops the product badly.
You need a cleaner square version.
You want a lighter image that still looks clear.
You are preparing several listing photos.
Step 6: Check the File Size
A product photo can look great but still be too heavy. Large files may upload slowly or fail, especially on mobile data or weak internet.
After resizing, check the file size. If it is still too large, reduce the dimensions a little more while keeping the product clear.
Do not make the image so small that buyers cannot see details. A product image should be light enough to upload, but clear enough to help someone make a decision.
Step 7: Preview the Image Like a Buyer
Before uploading, open the resized image and look at it as a buyer would.
Ask yourself:
Can I immediately tell what the product is?
Is the full item visible?
Are important details clear?
Does the image look natural?
Is the product centered?
Would this work as a small thumbnail?
Is there too much background?
Does the file upload easily?
If the image looks confusing at small size, adjust the crop or choose a better photo.
Practical Example
Imagine you are selling a used backpack. You take a vertical phone photo, but the backpack appears small because there is too much floor and wall in the image. When you upload it, the marketplace thumbnail cuts off the top.
A better workflow would be:
Choose the clearest backpack photo.
Crop extra floor and wall space.
Keep the full backpack visible.
Center the item.
Resize the image to a practical upload size.
Check that the product is not stretched.
Preview the resized image.
Upload it as the main listing photo.
Now the product is easier to see, and the listing looks cleaner.
Common Mistakes to Avoid
Cropping Too Close
Do not cut off handles, corners, labels, tags, screens, buttons, straps, or other important details. Buyers may want to inspect those areas.
Stretching the Product
Never resize in a way that changes the product’s shape. Keep proportions natural.
Uploading Huge Original Photos
Phone photos can be much larger than needed. Uploading the original may slow down the process or trigger file-size errors.
Using Busy Backgrounds
A cluttered background makes the product harder to notice. Crop unnecessary background when possible.
Making the Photo Too Small
A tiny file may upload quickly, but it may not show enough detail. Buyers need clarity.
Overediting the Product
Avoid filters or edits that make the product look different from its real condition. Keep the image honest and clear.
Final Checklist Before Uploading
Before uploading product photos to an online marketplace, check this list:
The product is fully visible.
The image is clear and focused.
The item is centered.
The background is not distracting.
The photo is not stretched.
Important details are not cropped out.
The file size is reasonable.
The image dimensions fit the upload area.
The photo works as a small thumbnail.
The final image opens correctly before upload.
Conclusion
Product photos can make a listing easier or harder to trust. If the image is too large, badly cropped, stretched, or unclear, buyers may skip the listing even if the product is good.
When you resize product photos for online marketplace uploads, focus on clarity, natural proportions, clean framing, and practical file size. A prepared image helps the product appear more clearly in upload previews, thumbnails, and listing pages.
ImageToSend’s Smart Image Resizer can help you adjust dimensions and prepare cleaner product photos before selling online.
FAQ
What size should product photos be for online marketplaces?
Use the size recommended by the marketplace. If no size is listed, prepare a clear image that is large enough to show details but not unnecessarily heavy.
Should product photos be square?
Many marketplace thumbnails display well as square images, but you should follow the platform’s instructions when they are available.
Can resizing make my product photo blurry?
Yes, if you reduce it too much or stretch it. Keep the aspect ratio correct and preview the final image before uploading.
Which ImageToSend tool should I use?
Use Smart Image Resizer when you need to change product photo dimensions, adjust aspect ratio, or prepare a lighter image before upload.
ImageToSend
Practical tools and guides to compress PDFs, resize images, and prepare ID and passport photos for online uploads.
Contact
© 2026 ImageToSend. All rights reserved.
Quick Links