
How to Resize Images for Website Upload Without Losing Quality
Learn how to resize images for website upload, keep pages faster, avoid blurry visuals, and prepare clean image files before publishing online with ease.
RESIZE IMAGES
6/17/20263 min read
You finish writing a blog post or updating a website page, upload an image, and something feels wrong. The image may look too large, load slowly, appear blurry, or get cropped badly inside the page. This is a common reason people need to resize images for website upload before publishing.
Website images are different from photos saved on your phone or computer. A camera photo can be very large because it is made for storage, printing, or editing. A website image needs to look clear while staying light enough to load quickly. Image SEO also includes tasks like resizing, compressing, naming images clearly, and using helpful alt text.
Why Website Images Need Resizing
Most original images are larger than a website actually needs. A phone photo can be thousands of pixels wide, but a blog article may display it at a much smaller size. Uploading the original image can make the page heavier than necessary.
Large images can slow down a page and make it harder for visitors to browse smoothly. Image optimization often includes compressing images, choosing the right format, and adjusting resolution to improve loading and reduce bandwidth.
Resizing also helps the design look cleaner. If an image is too wide, too tall, or the wrong shape, it may stretch, crop, or push other page elements out of place.
What to Check Before Resizing
Before editing the image, check where it will appear on the website. A featured image, blog thumbnail, product image, profile photo, and banner do not need the same shape.
Ask these questions:
Will the image be used as a blog featured image?
Will it appear inside an article?
Does the page layout need a horizontal, vertical, or square image?
Does the website builder recommend a specific size?
Does the image include text, faces, products, or documents?
Does the image still look clear after resizing?
Do not resize randomly. Resize based on the space where the image will be used.
Step-by-Step: Resize Images for Website Upload
Start by opening the original image and checking its quality. If the original is blurry, resizing will not fix it. Use the clearest version available.
Next, decide the image shape. A blog featured image often works better in a horizontal format. A profile image may need a square crop. A document screenshot may need enough width for text to remain readable.
Then crop unnecessary space before resizing. If the image has too much empty background, remove only the parts that do not matter. Do not cut off faces, product edges, document text, or important visual details.
After cropping, resize the image dimensions. Keep the proportions locked so the image does not stretch. If you change width and height separately, faces, logos, documents, and products can look distorted.
Now preview the resized image. Check whether important details are still sharp. For images with text, zoom in and confirm the text is readable. For product or profile images, make sure the subject still looks natural.
Finally, save the image in a format accepted by your website. JPG is often practical for photos. PNG may work better for screenshots or graphics with sharp lines, though it can be larger. Choose the format that fits the image type and your website needs.
Common Mistakes to Avoid
One common mistake is uploading full-size camera images directly to the website. The page may still publish, but the image can make the page heavier than needed.
Another mistake is resizing too aggressively. A very small image may load quickly, but it can look blurry on larger screens.
Avoid stretching the image to force it into a specific space. If the shape is wrong, crop carefully or choose another image instead.
Do not ignore file names. A descriptive name like website-header-image.jpg or blog-featured-image.jpg is clearer than a random camera name.
Also avoid forgetting alt text. Alt text helps describe the image for accessibility and can support image SEO when written naturally.
Final Checklist Before Uploading
Before uploading your website image, confirm that:
The image is the right shape for the page.
The dimensions are not larger than needed.
The image is not stretched.
Important details are not cropped out.
The file size is reasonable.
The file format is suitable.
The file name is clear.
The alt text describes the image naturally.
The final preview looks clean on the page.
Prepare Your Image Before Publishing
A website image should look clear, load smoothly, and fit the page layout. If you upload the original file without resizing, the image may be heavier than necessary or display poorly.
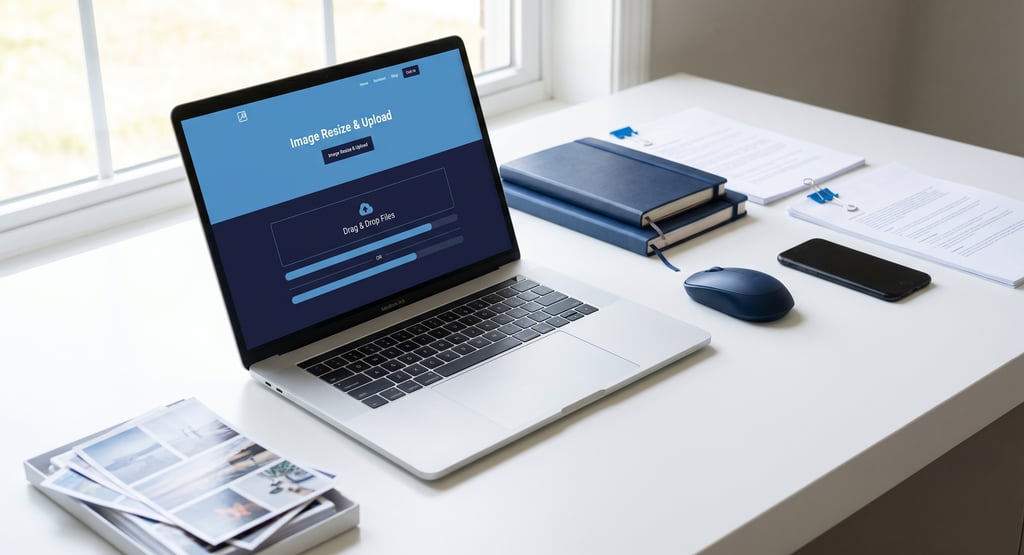
Before publishing your next blog post, product page, or website update, resize your image with ImageToSend. Prepare the file first so it is cleaner, easier to upload, and better suited for your website layout.
Resize your image with ImageToSend before uploading it to your website.
ImageToSend
Practical tools and guides to compress PDFs, resize images, and prepare ID and passport photos for online uploads.
Contact
© 2026 ImageToSend. All rights reserved.
Quick Links