How to Fix Sideways Photos Before Uploading Documents Online
Fix sideways photos before upload with simple rotation, cropping, and file checks so your documents look clear on forms, portals, and email submissions now.
UPLOAD & SUBMISSION HELP
6/22/20265 min read
A document photo can look fine on your phone, but appear sideways after you upload it to a form, school portal, job application, or email attachment. This is frustrating because the file may still technically upload, but the person reviewing it may need to rotate their screen or download the file just to read it.
Learning how to fix sideways photos before upload helps your document look cleaner, easier to read, and better prepared for online submission. It does not guarantee that every portal will accept your file, but it can reduce common presentation problems before you send it.
Sideways photos are especially common with phone pictures of IDs, receipts, forms, certificates, homework pages, and signed documents. The good news is that you usually do not need advanced editing software. You mainly need to check the orientation, rotate the image correctly, crop unnecessary edges, and save the file in a format the upload page supports.
Why Photos Turn Sideways After Uploading
A sideways photo usually happens because your phone saves orientation information inside the image file. Some apps and websites read that information correctly. Others ignore it.
That means the image may look upright in your phone gallery, but sideways in an online portal.
This can happen when:
You took the photo while holding your phone at an angle.
The camera app saved rotation data instead of permanently rotating the image.
The upload portal does not read the orientation data correctly.
The file was shared between devices before upload.
The image was edited or converted by another app.
The problem is not always your photo. Sometimes the upload system is limited. Still, preparing the image before submission gives you more control.
How to Fix Sideways Photos Before Upload
Before uploading a document photo, open it in an editor and check how it appears outside your phone gallery. If it looks sideways, rotate it manually and save a new version.
Here is a simple process.
1. Open the Photo Before Uploading
Do not rely only on the small thumbnail in your gallery. Open the full image and check:
Is the text readable from left to right?
Is the top of the document at the top of the image?
Are signatures, stamps, or labels facing the correct direction?
Are there large empty borders around the page?
Is the document cropped too close?
If the image is sideways, upside down, or tilted, fix it before you attach it to the form.
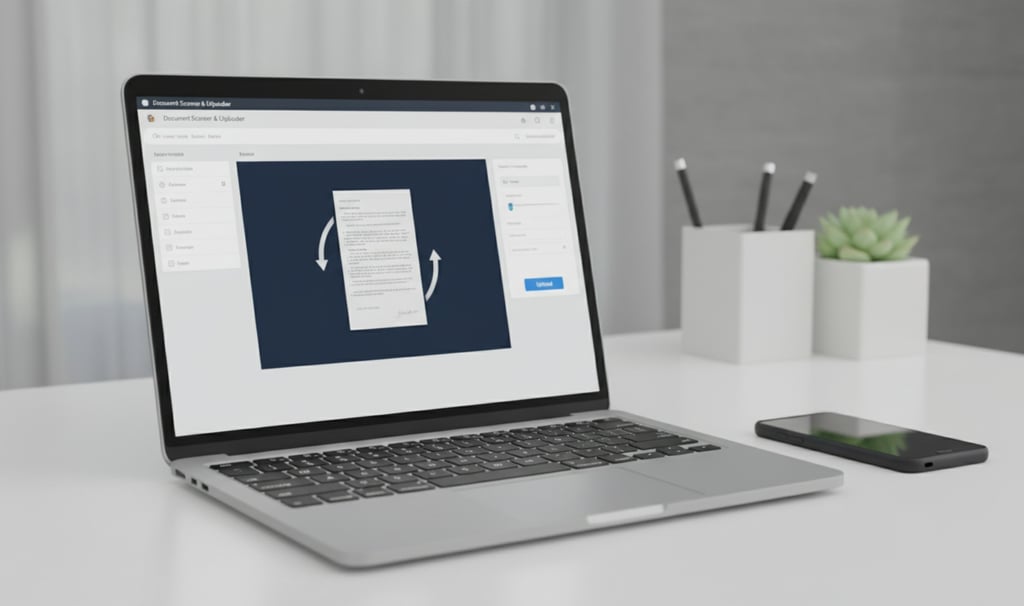
2. Rotate the Image to the Correct Direction
Use a document editor to rotate the image 90 degrees left, 90 degrees right, or 180 degrees if needed. The goal is simple: the document should look natural when viewed on a normal screen.
For example:
If the top of the page is on the left, rotate right.
If the top of the page is on the right, rotate left.
If everything is upside down, rotate 180 degrees.
After rotating, save the image as a new file. This helps make the corrected orientation part of the actual image, instead of depending on hidden rotation data.
3. Crop Extra Background Around the Document
Once the photo is upright, crop unnecessary background. This makes the file look cleaner and helps the reviewer focus on the document.
Try to remove:
Table edges
Bedsheets or floor background
Fingers holding the paper
Large empty space
Shadows near the corners
Do not crop off important details. Keep the full page visible, including names, dates, document numbers, signatures, and any required margins.
4. Check the Lighting and Readability
A correctly rotated photo can still be hard to use if the text is blurry or dark. Before uploading, zoom in and check whether the smallest text is readable.
Look for:
Clear text
Straight page edges
No heavy glare
No motion blur
No dark shadows across the page
No missing corners
If the image is blurry, it is usually better to retake the photo instead of trying to repair it afterward.
5. Save the Corrected File
After rotating and cropping, save the file. Use a simple file name that avoids special characters.
Good examples:
passport-photo.jpg
signed-form.jpg
school-document.jpg
receipt-upload.jpg
Avoid names with symbols like #, %, &, or very long strings. Some older upload systems may reject unusual file names.
6. Preview the File Again
Before submitting, open the saved version one more time. This final preview helps you catch problems before the portal does.
Check:
The photo is upright.
The document is not cut off.
The file opens correctly.
The image is not too blurry.
The file name looks simple.
The format matches the portal’s instructions.
This step takes a few seconds, but it can prevent a failed or messy submission.
Best Tool to Fix Sideways Document Photos
For this problem, the best ImageToSend tool to use is the Document Editor. It is designed to help prepare document images by fixing orientation, cropping, rotating, flipping, and cleaning up visible presentation issues.
Use it when you need to:
Rotate a sideways document photo
Fix an upside-down image
Crop extra background
Straighten the visual presentation
Prepare an ID, form, receipt, or document photo before upload
ImageToSend is built for real-world upload preparation, not complicated design work. The Document Editor is a practical option when your main goal is to make a file clearer and easier to submit.
Common Mistakes to Avoid
Uploading Directly From Your Phone Without Checking
A photo may look upright in your phone gallery but sideways after upload. Always preview the actual file before attaching it.
Cropping Too Closely
Do not cut off edges, names, dates, barcodes, stamps, or signatures. A clean crop should remove background, not important information.
Rotating the Thumbnail Only
Some apps appear to rotate the preview without saving the change into the image file. Make sure you save or export the corrected version.
Ignoring File Format Requirements
If the form asks for JPG, PNG, or PDF, follow that instruction. A perfectly rotated image can still fail if the format is unsupported.
Sending Multiple Versions by Accident
After editing, delete or move older sideways versions so you do not upload the wrong file.
When You Should Retake the Photo Instead
Editing helps with orientation and cropping, but it cannot fix every issue. Retake the photo if:
The text is unreadable
The image is too dark
The document is heavily tilted
A finger covers important details
The page is wrinkled or folded over text
Glare blocks part of the document
The file is a screenshot of a blurry photo
For best results, place the document on a flat surface, use natural light, hold the phone steady, and keep the camera parallel to the page.
Final Checklist Before Uploading
Use this checklist before submitting your document photo:
The image is upright.
The full document is visible.
No important details are cropped out.
The text is readable when zoomed in.
The background is clean and minimal.
The file name is simple.
The format matches the upload instructions.
The corrected version was saved.
You previewed the final file before submitting.
Conclusion
Sideways photos are a common upload problem, especially when documents are photographed on phones. The file may look correct in one app but rotate incorrectly in another. That is why it is better to fix the orientation before uploading.
To fix sideways photos before upload, rotate the image, crop extra background, check readability, save a corrected version, and preview it before submission. For a simple way to prepare document photos, use the ImageToSend Document Editor at https://imagetosend.com
ImageToSend
Practical tools and guides to compress PDFs, resize images, and prepare ID and passport photos for online uploads.
Contact
© 2026 ImageToSend. All rights reserved.
Quick Links