
How to Fix File Upload Errors Online for Forms
Learn how to fix file upload errors online by resizing images, compressing PDFs, checking formats, and preparing files before submitting online forms today.
UPLOAD & SUBMISSION HELP
5/20/20263 min read
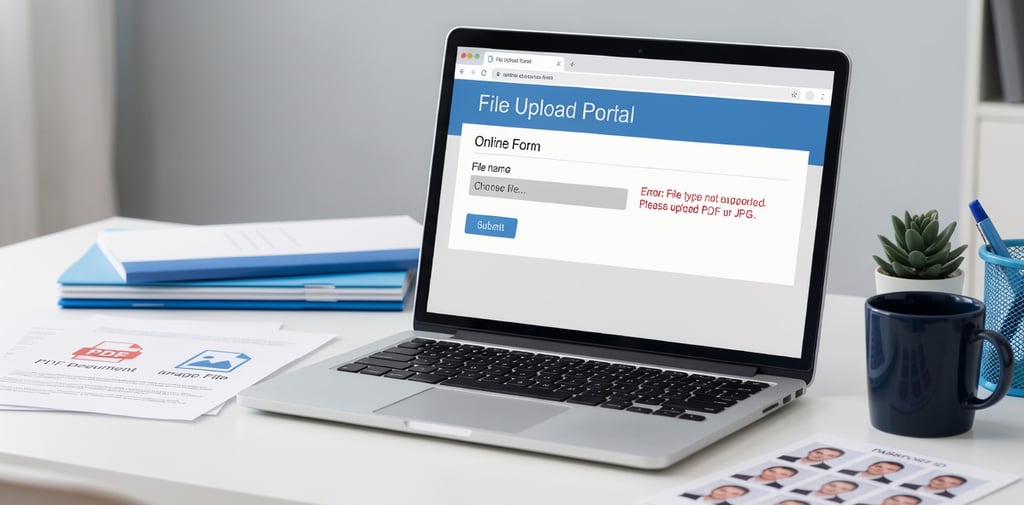
You are ready to submit an application, upload a document, or finish an online form. Everything looks complete. Then the website shows an error: file too large, unsupported format, upload failed, invalid image size, or document not accepted.
This problem is more common than people think. Online portals often reject files because they are not prepared correctly before uploading. The file may look fine on your computer or phone, but the system may still reject it because of size, format, dimensions, or quality.
The good news is that most file upload errors can be fixed before you submit the form. You usually do not need to start over. You just need to prepare the file properly.
Why Online Forms Reject Files
Online forms usually have technical limits. A job portal may accept only PDFs under a certain size. A government form may require a JPG photo. A school platform may reject images that are too large. A visa or ID application may ask for a specific photo size, crop, or background.
The most common reasons files fail are:
The file is too large.
The image dimensions are wrong.
The file format is not supported.
The PDF contains heavy scanned pages.
The photo is blurry, dark, or badly cropped.
The document name contains strange symbols.
The upload portal has a strict file size limit.
These small details can create big delays, especially when you are submitting something important.
Step 1: Check the Upload Requirements First
Before editing your file, read the upload instructions carefully. Look for maximum file size, accepted file types, required dimensions, and special rules.
For example, a platform may say:
PDF only
JPG or PNG only
Maximum 2 MB
Minimum photo size 600 x 600 pixels
Passport-style photo required
One file per upload field
If you skip this step, you may resize or compress the file in the wrong way.
Step 2: Compress Large PDFs
PDFs often become too large because they include scanned pages, images, certificates, forms, or signatures. If the portal rejects your PDF, compress it before uploading.
A good compressed PDF should still be readable. Names, dates, signatures, stamps, and form details should remain clear. Do not reduce the file so much that the document becomes blurry or difficult to review.
After compressing, open the new PDF and check every page before submitting.
Step 3: Resize Images Before Uploading
Images from phones are often very large. A photo may be several megabytes even if it looks simple. Some online forms reject large images automatically.
Resize the image based on what the website requires. If the form asks for specific pixels, use those dimensions. If it only gives a maximum file size, resize and compress the image carefully until it fits.
This is especially useful for profile photos, scanned documents, ID cards, receipts, and school or job application images.
Step 4: Use the Right File Format
Another common error is uploading the wrong file type. Some websites accept PDF but not DOCX. Others accept JPG but not HEIC. Some forms reject PNG images even if the image looks perfect.
Before uploading, check the required format. If needed, convert your image or document to the correct type. For many online submissions, PDF, JPG, and PNG are the most common formats.
Step 5: Prepare ID and Passport Photos Carefully
ID, visa, and passport photos have stricter rules than normal images. A photo may be rejected if the face is not centered, the background is messy, the file is too large, or the crop is incorrect.
Use a clean, well-lit photo. Make sure the face is clear, the background is simple, and the final image matches the size requested by the form.
Step 6: Rename the File Clearly
A simple file name can prevent problems. Avoid symbols, emojis, long names, or special characters.
Instead of:
final_document_version_scan_%%%new!!.pdf
Use:
john-smith-application-document.pdf
Clear file names are easier for both upload systems and reviewers.
Final Checklist Before You Submit
Before clicking upload, check this:
Is the file under the required size?
Is it in the correct format?
Is the text readable?
Is the image clear?
Is the photo cropped correctly?
Does the file name look clean?
Did you open the final version to review it?
A few minutes of preparation can save you from failed uploads, rejected forms, and repeated submissions.
If your file is too large, wrongly sized, or not ready for a portal, use ImageToSend to prepare it first.
Fix your file before uploading with ImageToSend’s free tools.
ImageToSend
Practical tools and guides to compress PDFs, resize images, and prepare ID and passport photos for online uploads.
Contact
© 2026 ImageToSend. All rights reserved.
Quick Links