
Crop Images Without Cutting Off Details
Learn how to crop images without cutting off details, keep the right shape, avoid stretched photos, and prepare cleaner files for online uploads today. Slug: crop-images-without-cutting-off-details
RESIZE IMAGES
6/11/20264 min read
You upload a photo to an online form, website, profile page, or application portal, and the image does not fit. So you crop it quickly. Then you notice the problem: part of the face is missing, the document edge is gone, the product looks incomplete, or the image feels too tight. This is why it matters to crop images without cutting off details before uploading them.
Cropping is useful, but it can also damage the image if you do it too fast. A good crop removes unnecessary space while keeping the important subject clear. A bad crop cuts off information the viewer or portal may need.
Many online image tools include options to crop, resize, compress, or edit images, which shows how common this problem is for people preparing files online. The key is not just using a tool, but knowing what to protect before you crop.
Why Cropping Problems Happen
Cropping problems usually happen when the image has the wrong shape for the upload space. For example, you may have a wide landscape photo, but the form wants a square image. Or you may have a tall document photo, but the website preview uses a horizontal frame.
If you force the image into the wrong shape, the system may cut off part of it automatically. If you crop it manually without checking the edges, you may remove important details yourself.
Another issue is confusing cropping with resizing. Cropping removes part of the image. Resizing changes the image dimensions. If you need the whole document, face, product, or object to stay visible, you should be careful before cropping. Sometimes resizing is better than cutting.
Online editing guides often group tasks like cropping, resizing, and editing separately because each one solves a different image problem. Knowing the difference helps you avoid damaging the file.
What to Check Before Cropping
Before you crop any image, ask one simple question: what must stay visible?
For a profile photo, the face should stay centered and natural. For a document, all text, signatures, stamps, borders, and page edges may matter. For a product photo, the full item should be visible unless you are intentionally showing a close-up. For a school, job, or application upload, the image should match the instructions given by the portal.
Also check the required shape. Some platforms ask for square images. Others use portrait or landscape formats. If the instructions mention pixels, width, height, aspect ratio, or file size, follow those details first.
Do not crop based only on what looks good in your phone gallery. The uploaded version may display differently inside the form.
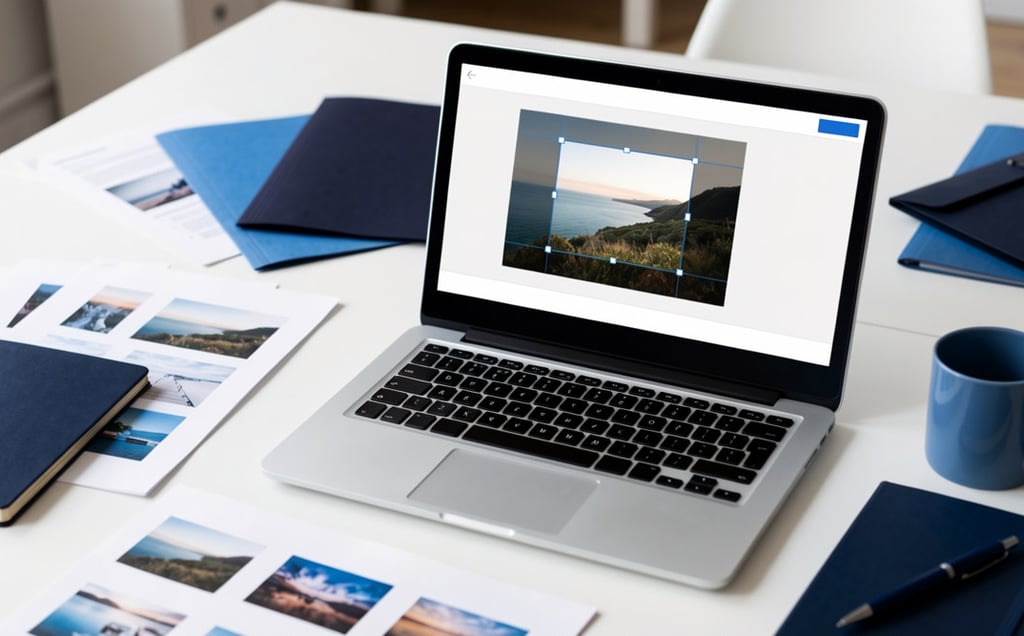
Step-by-Step: Crop Images Without Cutting Off Details
Start by opening the image and looking at the full frame. Do not crop immediately. Check all four edges and identify anything important near the border. This could be a signature, a hand, a document corner, a product edge, a face, or a line of text.
Next, choose the crop shape you actually need. If the upload area is square, select a square crop. If the image needs to stay vertical, use a portrait crop. If the form does not require a specific shape, avoid unnecessary cropping and only remove extra background.
Then place the subject in the center. For people, keep the face balanced with enough space around the head and shoulders. For documents, keep the page straight and avoid cutting off corners. For products, leave a small amount of space around the item so it does not look cramped.
After that, zoom out and preview the crop. This step is easy to skip, but it matters. A crop may look fine while you are editing, then feel too tight once saved. Previewing helps you catch missing edges before uploading.
If the image still does not fit, try resizing instead of cropping more. Resizing can make the image smaller without removing content. Cropping should remove unnecessary space, not important information.
Finally, save a copy of the edited image. Keep the original file in case you need to adjust the crop again. This is especially useful for forms that reject the first version.
Common Cropping Mistakes to Avoid
One common mistake is cropping too close to the subject. This makes the image feel crowded and may remove important context.
Another mistake is cutting off document edges. Even if the text is readable, missing borders or signatures may make the file look incomplete.
A third mistake is using automatic crop without checking the result. Some apps crop based on a preset shape, not based on what is important in your image.
Avoid stretching the image after cropping. Stretching changes the shape of faces, documents, and products. If the image looks distorted, undo the change and resize it proportionally.
Also avoid over-editing after the crop. Heavy filters, too much sharpening, or strong brightness changes can make the image look less natural.
Final Checklist Before Uploading
Before you submit the image, confirm that:
The main subject is fully visible.
No face, signature, text, product edge, or document border is cut off.
The image matches the required shape or size.
The image is not stretched.
The crop does not feel too tight.
The file format is accepted.
The image still looks clear after saving.
The file name is simple and readable.
Prepare Your Image Before Uploading
Cropping should make an image cleaner, not less useful. Before uploading, take a moment to check the edges, preview the final version, and make sure the important details are still visible.
ImageToSend helps you prepare images before sending or uploading them online. Crop and prepare your image with ImageToSend before uploading it so your file looks cleaner, fits better, and keeps the details that matter.
Crop and prepare your image with ImageToSend before uploading it.
ImageToSend
Practical tools and guides to compress PDFs, resize images, and prepare ID and passport photos for online uploads.
Contact
© 2026 ImageToSend. All rights reserved.
Quick Links