
How to Convert HEIC Photos Before Uploading Them
Convert HEIC photos before uploading them. Learn why some forms reject iPhone images and how to prepare compatible JPG files for online submissions. easily.
UPLOAD & SUBMISSION HELP
6/25/20265 min read
You take a photo on your iPhone, open an online form, choose the image, and then the upload fails. The file looks normal in your Photos app, but the website may show an error such as “unsupported file type,” “invalid format,” or “please upload JPG or PNG only.”
This often happens because many iPhones save photos as HEIC files. HEIC can be useful because it keeps image quality while using less storage, but not every website, school portal, job application form, or document submission system accepts it. If a form only accepts JPG, JPEG, or PNG, your iPhone photo may be rejected even when the picture itself is clear.
The practical solution is simple: convert HEIC photos before uploading them. By changing the file into a more widely accepted format, you can prepare the image before the form checks it.
Why Some Websites Reject HEIC Photos
HEIC is a modern image format used by many Apple devices. It is efficient, but compatibility is the problem. Some upload systems are older, limited, or built with strict file rules.
A website may reject a HEIC photo because:
The form only accepts JPG, JPEG, or PNG.
The upload system does not recognize the .heic extension.
The portal’s preview tool cannot display HEIC files.
The file requirement was written for traditional image formats.
The system checks the file type before checking the image content.
For example, a job portal might say “Upload a profile photo in JPG or PNG.” A school form may ask for “one photo file under the size limit.” A government-style application form may only list JPEG as an accepted format. In all these cases, a HEIC image can cause problems even if the photo is good.
Convert HEIC Photos Before Uploading to Avoid Format Errors
When you convert HEIC photos before uploading, you are not changing the purpose of the image. You are preparing the file so the receiving website can read it.
For most online forms, JPG is usually the safest choice for regular photos. JPG is widely accepted, works well for photos, and usually keeps file sizes manageable. PNG can also be useful, especially for graphics or images that need transparency, but PNG files can become larger. For iPhone photos, JPG is usually the most practical format.
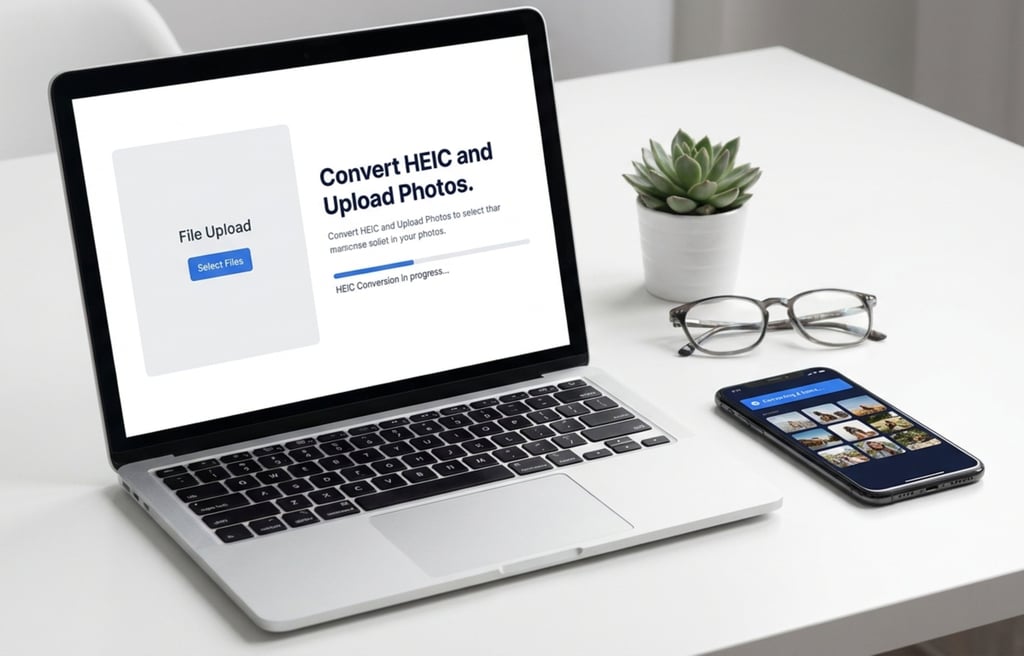
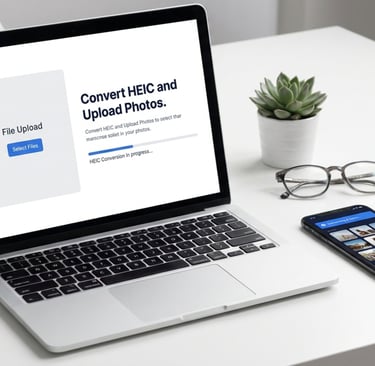
ImageToSend’s Image Converter is the best public tool for this situation because it is designed for changing image formats before upload. It fits HEIC compatibility problems, unsupported file type errors, and situations where a website asks for a more common format.
Step-by-Step: How to Prepare an iPhone HEIC Photo for Upload
1. Check the upload instructions first
Before converting anything, read the form requirements. Look for accepted formats such as:
JPG
JPEG
PNG
PDF
WebP
Also check whether the form mentions a maximum file size, required dimensions, or photo type. The format is only one part of the upload requirement.
If the form says “JPG or PNG only,” a HEIC file should be converted before you try again.
2. Choose the HEIC photo from your device
Find the image you need to submit. This could be:
A profile photo for an account
A document photo
A product photo
A school submission image
A job application photo
A form attachment
Make sure the photo is the correct one before converting. It is easy to accidentally upload a duplicate, screenshot, or older image from your camera roll.
3. Convert the HEIC file to JPG
Use the Image Converter on ImageToSend to change the HEIC image into a compatible format. In most cases, choose JPG for regular photos.
JPG works well when the image is a camera photo, such as a person, document, room, object, receipt, or application image. It is also commonly accepted by upload forms.
4. Save the converted file with a simple name
After conversion, rename the file if needed. Use a clean file name such as:
profile-photo.jpg
application-photo.jpg
document-photo.jpg
receipt-upload.jpg
Avoid special characters, emojis, long names, and confusing symbols. A simple name can reduce the chance of a separate upload error.
5. Upload the converted file
Go back to the form and choose the new JPG file. Do not accidentally select the original HEIC again. If the website still rejects the file, check the size limit, dimensions, or file name rules.
Practical Examples
Example 1: Job application photo
A user takes a headshot on an iPhone and tries to upload it to a job portal. The portal says JPG or PNG only. The original photo is HEIC, so the upload fails. Converting the image to JPG prepares it for the portal’s accepted format list.
Example 2: School document submission
A parent photographs a signed school document on an iPhone. The school portal does not preview the file because it does not support HEIC. Converting the photo to JPG makes it easier to upload and review.
Example 3: Online account profile image
A website asks for a profile photo. The iPhone image looks fine on the phone, but the website rejects it. A JPG version is more likely to match the form’s expected image format.
HEIC vs JPG vs PNG: Which Should You Choose?
For most iPhone photo uploads, choose JPG.
Use JPG when:
The file is a regular photo.
The form accepts JPEG or JPG.
You want a widely compatible image.
You need a practical balance of quality and file size.
Use PNG when:
The image is a graphic or screenshot.
You need sharper text or interface details.
The form specifically asks for PNG.
Transparency matters.
Avoid uploading HEIC when:
The website does not list HEIC as accepted.
The form says JPG, JPEG, or PNG only.
The upload preview fails.
The portal shows an unsupported file type error.
Common Mistakes to Avoid
Uploading the original HEIC again
After converting, make sure you select the new JPG or PNG file. Many users accidentally choose the original HEIC from their photo library.
Ignoring the file size limit
Converting the format may fix compatibility, but the file could still be too large. If the website has a size limit, you may also need to resize the image.
Choosing PNG for every photo
PNG is not always better. It can create larger files, especially for camera photos. For most iPhone photos, JPG is more practical.
Changing only the file name extension
Do not simply rename photo.heic to photo.jpg. That does not properly convert the image. The file content still needs to be changed into the new format.
Skipping the upload instructions
Some forms have strict requirements. Always check accepted formats, file size, and image dimensions before submitting.
Final Checklist Before Uploading
Before you submit your converted image, check this list:
The original HEIC photo was converted properly.
The new file is JPG, JPEG, or another accepted format.
The file name is simple and clear.
The image is the correct photo.
The file size matches the form’s limit.
The image is not sideways or cropped incorrectly.
You selected the converted file, not the original HEIC.
The upload preview looks correct before final submission.
Conclusion
HEIC photos are common on iPhones, but many online forms still expect JPG, JPEG, or PNG files. That mismatch can cause upload errors even when the image itself is clear and useful.
The best way to avoid this problem is to convert HEIC photos before uploading them. A compatible JPG version can help you prepare the image for job portals, school forms, online accounts, document submissions, and other everyday uploads.
Use ImageToSend’s Image Converter when you need to change an iPhone HEIC photo into a more upload-friendly format before sending or submitting it.
FAQ
Why does my iPhone save photos as HEIC?
Many iPhones use HEIC because it can keep good image quality while using less storage space. The problem is that some websites and portals still do not accept HEIC uploads.
What is the best format to convert HEIC photos to?
For most online photo uploads, JPG is the safest choice. It is widely accepted and works well for regular camera photos.
Can I just rename a HEIC file to JPG?
No. Renaming the extension does not properly convert the image. You should use an image converter so the file content is actually changed into the new format.
What should I do if the converted JPG still will not upload?
Check the form’s file size limit, dimensions, file name rules, and accepted formats. The format may be fixed, but another requirement may still be causing the upload error.
ImageToSend
Practical tools and guides to compress PDFs, resize images, and prepare ID and passport photos for online uploads.
Contact
© 2026 ImageToSend. All rights reserved.
Quick Links